Mobile Development Dependency Injection Flavors in iOS
Dependency injection (DI) is a fundamental technique for building modular, testable, and maintainable iOS applications. It allows developers to decouple objects and their dependencies, simplifying code reuse and testing. In this article, we’ll explore various DI techniques and libraries available for iOS, including SwiftUI’s Environment and EnvironmentObject, and powerful third-party libraries like Swinject.
What is Dependency Injection?
Dependency injection is a design pattern where an object’s dependencies are provided externally rather than being created internally. This approach improves flexibility and testability while reducing tight coupling.
Dependency Injection Techniques in iOS
1. Constructor Injection
Example:
// UserService abstraction
struct UserService {
    let getUserProfileName: () async throws -> String
    let changeUserProfileName: (String) async throws -> Void
}

final class UserProfileViewModel {

    // Injected at initialization
    private let userService: UserService
    init(userService: UserService) {
        self.userService = userService
    }

    public var userProfileName = CurrentValueSubject<String, Never>("")
    func fetchUserProfile() {
        Task {
            userProfileName.send(try await userService.getUserProfileName())
        }
    }
    func changeUserProfile(name: String) {
        Task {
            try await userService.changeUserProfileName(name)
            userProfileName.send(name)
        }
    }
}

// Usage example
static let defaultUserService = UserService(
    getUserProfileName: {
        try await Task.sleep(nanoseconds: 1_000_000_000)
        return "John"
    },
    changeUserProfileName: { _ in
        try await Task.sleep(nanoseconds: 1_000_000_000)
    }
)

static let viewModel = UserProfileViewModel(userService: defaultUserService)
- Advantages: Explicit, safe, and immutable.
- Disadvantages: Requires boilerplate code for dependency wiring.
- Key Disadvantage: In a multi-level scenario some dependencies may be passed thru several levels which may not care about an specific provider.
2. Property Injection
Example:
final class UserProfileViewModel {
    var userService: UserService?
    public var userProfileName = CurrentValueSubject<String, Never>("")
    func fetchUserProfile() {
        Task {
            userProfileName.send(try await userService?.getUserProfileName() ?? "")
        }
    }
    func changeUserProfile(name: String) {
        Task {
            try await userService?.changeUserProfileName(name)
            userProfileName.send(name)
        }
    }
}

static let viewModel = {
    let viewModel = UserProfileViewModel()
    viewModel.userService = defaultUserService
    return viewModel
}()
- Advantages: Suitable for optional or late-bound dependencies.
- Disadvantages: Can lead to runtime errors if a dependency is not set before usage.
3. Service Locator Pattern
Example:
    class ServiceLocator {
        static let shared = ServiceLocator()
        private var services: [String: Any] = [:]
        func register<T>(_ service: T, for type: T.Type) {
            services[String(describing: type)] = service
        }

        func resolve<T>(_ type: T.Type) -> T {
            return services[String(describing: type)] as! T
        }
    }

    final class UserProfileViewModel {
        private lazy var userService: UserService = {
            ServiceLocator.shared.resolve(UserService.self)
        }()
        public var userProfileName = CurrentValueSubject<String, Never>("")
        func fetchUserProfile() {
            Task {
                userProfileName.send(try await userService.getUserProfileName())
            }
        }
        func changeUserProfile(name: String) {
            Task {
                try await userService.changeUserProfileName(name)
                userProfileName.send(name)
            }
        }
    }

    static let viewModel = UserProfileViewModel()
- Advantages: Centralized management of dependencies.
- Disadvantages: Encourages tight coupling and can complicate testing.
4. SwiftUI’s Environment and EnvironmentObject
Example: Using Environment
// Define a custom EnvironmentKey
struct UserServiceKey: EnvironmentKey {
    static let defaultValue: UserService = SwiftUIInjection.defaultUserService
}

// Extend EnvironmentValues
extension EnvironmentValues {
    var userService: UserService {
        get { self[UserServiceKey.self] }
        set { self[UserServiceKey.self] = newValue }
    }
}

struct UserProfileView: View {
    @Environment(\.userService) private var userService
    @State var userProfileName: String = ""

    var body: some View {
        Button("Fetch User Profile") {
            Task {
                userProfileName = try await userService.getUserProfileName()
            }
        }
    }
}
- Advantages: Seamlessly integrates with SwiftUI’s view hierarchy.
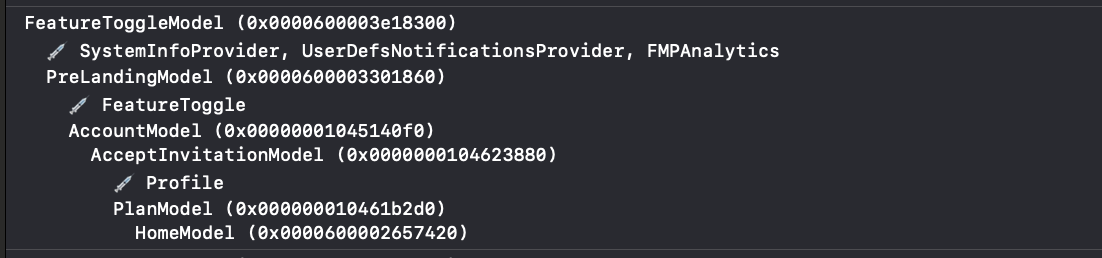
- Key Advantage: Tree + multi-level injection, natural to view hierarchies.
- Disadvantages: Limited to SwiftUI projects.
5. Third-Party Dependency Injection Libraries
In addition to the built-in Swift features, several third-party libraries can help manage dependency injection more efficiently:
Swinjectis a lightweight, easy-to-use dependency injection framework for Swift.Resolveris another DI library for Swift that provides powerful resolution mechanisms and SwiftUI support.Factoryfocuses on simplicity and testability for DI, making it easy to mock and resolve dependencies.
We believe there’s still room for a new dependency injection library that adopts a multi-level tree structure inspired by SwiftUI’s approach but decouples dependency injection from the app’s views. In our projects, we’ve implemented a similar solution to enable this kind of flexibility, and we’re excited to explore this approach in future articles. Stay tuned!
- Advantages: Flexible, supports dependency graph resolution. Community supported
- Disadvantages: Adds library overhead. No tree-multilevel design like SwiftUI’s Environment.
Choosing the Right Approach
The best dependency injection method or flavour depends on your project requirements:
- Use Constructor Injection for maximum clarity and immutability.
- Use SwiftUI’s Environment for projects built with SwiftUI.
- Use Swinject or Resolver if you need robust DI support with advanced features like dependency graphs or SwiftUI integration.
Conclusion
Dependency injection is a key practice for building modular and testable iOS applications. Swift offers a range of built-in solutions like Environment and EnvironmentObject, while third-party libraries like Swinject, Resolver, and Factory provide additional flexibility and features.
By understanding these options, you can select the DI method that best fits your project’s needs and enhance your app’s scalability and maintainability.