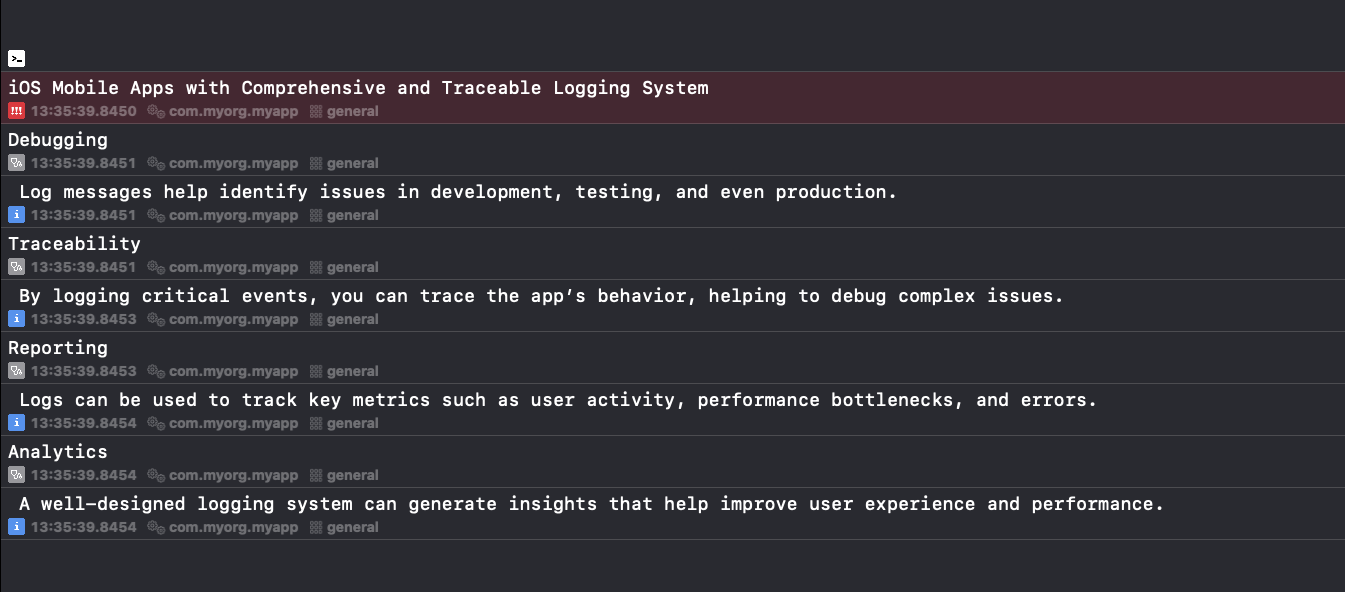
iOS Mobile Apps with Comprehensive and Traceable Logging System

In the development of iOS mobile apps, one of the key aspects of ensuring robustness, maintainability, and scalability is implementing a well-thought-out logging system. A comprehensive logging solution not only aids in debugging but also enables traceability and reporting. With a modular design, developers can extend the logging system to integrate with third-party services, record user actions, and gather insights into app behavior. This article will guide you through building a logging system in Swift that achieves these goals.
Why You Need a Comprehensive Logging System
While simple print statements (print()) are helpful during early stages of development, they don’t scale well for larger apps. A comprehensive logging system offers several key benefits:
- Debugging: Log messages help identify issues in development, testing, and production environments.
- Traceability: Logging critical events enables tracing app behavior, which helps in debugging complex issues.
- Reporting: Logs can track key metrics such as user activity, performance bottlenecks, and errors.
- Analytics: A well-designed logging system can generate insights that improve user experience and performance.
Building a Modular Logging System in Swift
A modular logging system provides flexibility, allowing different modules to plug into the core logger for functionalities like network reporting, analytics, or error handling. Let’s start by building a basic logger and then expand it into a modular system.
Step 1: The Core Logger
Start by creating a Logger class that acts as the foundation of your logging system. The logger will handle basic logging operations and provide methods to log messages at different levels (info, debug, error, etc.).
enum LogLevel {
    case info
    case debug
    case warning
    case error
}

class Logger {
    static let shared = Logger()
    private init() {}

    func log(_ message: String, level: LogLevel = .info, file: String = #file, line: Int = #line) {
        let fileName = (file as NSString).lastPathComponent
        print("\(Datºe())\t\(level.emoji)[\(level)]\t\(fileName):\(line)\t\(message)")
    }
}
This simple Logger class features:
- Log Levels:
info,debug,warning, anderrorto classify log severity. - File and Line Information: Captures file name and line number for easier traceability.
Usage Example:
Logger.shared.log("App started successfully", level: .info)
Logger.shared.log("Fetching user data", level: .debug)
Logger.shared.log("Invalid response received", level: .error)
You’ll see output in the debugger similar to:

Step 2: Modular Logging
A modular logging system allows you to extend logging to different subsystems, such as network logging, error reporting, or analytics. This can be achieved by injecting log handlers.
First, define a LogHandler struct that each subsystem can implement.
struct LogMessage {
    let message: String
    let level: LogLevel
    let file: String
    let line: Int
}

struct LogHandler {
    let log: (LogMessage) -> Void
}
Now modify the Logger class to allow multiple log handlers:
class Logger {
    static let shared = Logger()
    private var handlers: [LogHandler] = []

    func addHandler(_ handler: LogHandler) {
        handlers.append(handler)
    }
    func log(
        _ message: String,
        level: LogLevel = .info,
        file: String = #file,
        line: Int = #line
    ) {
        let logMessage = LogMessage(
            message: message,
            level: level,
            file: (file as NSString).lastPathComponent,
            line: line
        )
        // Pass the log message to all handlers
        for handler in handlers {
            handler.log(logMessage)
        }
    }
}
Now, the logger can handle multiple destinations by adding handlers dynamically.
Step 3: Adding Custom Log Handlers
You can extend the logger by adding custom log handlers, such as for network logging or analytics.
Basic print Log Handler
This log handler prints log messages to the console, just like in Step 1:
static var dummyPrintLogger = LogHandler { logMessage in
    let fileName = (logMessage.file as NSString).lastPathComponent
    print("\(Date())\t[\(logMessage.level)]\t\(fileName):\(logMessage.line)\t\(logMessage.message)")
}
Usage Example:
let logger = Logger()
logger.addHandler(dummyPrintLogger)
logger.log("App started successfully", level: .info)
logger.log("Fetching user data", level: .debug)
logger.log("Invalid response received", level: .error)
OS Log Handler
Apple provides os_log, a powerful logging tool built into iOS and macOS. It offers structured logging with support for filtering and performance insights.
import OSLog

extension LogLevel {
    // Map our levels to os_log types
    var structuredType: OSLogType {
        switch self {
        case .info: return .info
        case .debug: return .debug
        case .warning: return .error
        case .error: return .fault
        }
    }
}

static var structuredLogger: ComprehensiveModularLog.LogHandler {
    typealias Logger = os.Logger
    let structuredLogger = Logger(subsystem: "com.myorg.myapp", category: "general")
    return LogHandler { logMessage in
        _ = (logMessage.file as NSString).lastPathComponent
        structuredLogger.log(
            level: logMessage.level.structuredType,
            "\(logMessage.message)"
        )
    }
}
Usage Example:
let logger = Logger()
logger.addHandler(dummyPrintLogger)
logger.log("App started successfully", level: .info)
logger.log("Fetching user data", level: .debug)
logger.log("Invalid response received", level: .error)
See the result in the debugger:

Some of the features provided by Apple’s system are visible in the debugger logs: timestamps, filters, categories, etc…

Other Log Handlers
You can also log events for analytics, or send errors to a remote logging system for real-time error tracking. The modular system is flexible enough to support various use cases.
Use an Existing Solution
Apple has already created a logging solution, swift-log. Consider using it as a reference or inspiration for more advanced logging systems: swift-log.
Enforce Logger Usage
To ensure consistency and prevent the use of print() or NSLog, you can enforce the use of your Logger by adding rules to SwiftLint. Here’s a rule to disallow print():
log_method:
  name: "Method not allowed."
  regex: '(NSLog\\(|print\\()'
  message: "Please use Logger.shared.log()"
  severity: warning
Conclusion
Building a modular logging system in Swift allows flexibility and scalability in your iOS apps. A system that supports multiple log handlers enables logging for different purposes such as debugging, traceability, network reporting, and analytics. As your app grows, your logging system can easily be extended, making it easier to debug, monitor, and improve your app over time.
In summary, a well-architected logging system:
- Improves debugging capabilities.
- Increases traceability of issues.
- Facilitates reporting.
With this foundation, your iOS app will be more maintainable and reliable.
Stay tuned for more Swift tips and tricks!