Decoupling Views from ViewModels in SwiftUI

SwiftUI has revolutionized the way we build user interfaces for Apple platforms, offering a declarative syntax that’s both intuitive and powerful. However, as with any UI framework, it’s crucial to maintain a clean architecture that separates the concerns of UI, business logic, and data management. This article will walk you through the best practices for decoupling your views from their view models in SwiftUI to build scalable and maintainable applications.
Why Decouple Views from ViewModels?
Decoupling views from view models is essential for several reasons:
- Separation of Concerns: Keeping UI logic separate from business logic makes your codebase cleaner and easier to maintain.
- Testability: Decoupled view models can be tested independently of the views, allowing for more robust unit testing.
- Reusability: Views can be reused in different contexts without being tightly coupled to specific data sources or logic.
- Scalability: A clean separation between views and view models helps the app scale more easily as features and complexity grow.
Principles of Decoupling in SwiftUI
- Views are Stateless: SwiftUI views should be as stateless as possible. They should rely on view models to provide the data and handle the logic.
- Functional Programming: Define value types as inputs and outputs of your view, and map these value types to your view model.
- Use Bindings Sparingly: Use SwiftUI bindings carefully, as they can sometimes create unintended tight coupling between views and view models. Excessive use of bindings might lead to too many dependencies between the UI and its underlying logic, defeating the purpose of decoupling.
Example of a Coupled SwiftUI View and ViewModel
To illustrate the importance of decoupling views from view models, let’s look at an example where the view and view model are tightly coupled. This approach is common among beginners or in small projects, but it quickly becomes problematic as the project grows.
In this example, the view model directly manages the state and logic for the counter.
class CounterViewModel: ObservableObject {
    @Published var count: Int = 0
    func increment() {
        count += 1
    }
    func decrement() {
        count -= 1
    }
}
import SwiftUI

struct CoupledCounterView: View {
    @StateObject private var viewModel = CounterViewModel()
    var body: some View {
        VStack {
            Text("Count: \(viewModel.count)")
            HStack {
                Button(action: { viewModel.decrement() }) {
                    Text("-")
                }
                Button(action: { viewModel.increment() }) {
                    Text("+")
                }
            }
        }
    }
}
Problems with This Approach
- Tight Coupling: The
CoupledCounterViewdirectly creates and manages theCoupledCounterViewModel, making it difficult to reuse the view. - Hard to create Previews: Because the view and view model are tightly coupled, you cannot easily create Previews with different ViewModel scenarios.
- Difficult to Extend or Change: Changing the view model or view logic will likely require changes in both components, leading to a fragile codebase that breaks easily with modifications.
- Reduced Reusability: The view is stuck with a specific implementation of the view model, making it hard to reuse the view with different data sources or logic without substantial code changes.
Step-by-Step Guide to Building Decoupled Views
Let’s go through an example of building a SwiftUI view that is decoupled from its view model.
1. Define the View’s input and output value types
Start by defining a protocol that outlines the data and actions needed by the view. This way, the view remains unaware of the concrete implementation of the view model.
struct CounterViewInput {
    var count: Int
}
enum CounterViewOutput {
    case increment
    case decrement
}
2. Create a complete decoupled view version
Implement the CounterView as a simple view with the previous input and output value types:
struct DecoupledCounterView: View {
    let input: CounterViewInput
    let output: (CounterViewOutput) -> Void
    var body: some View {
        VStack {
            Text("Count: \(input.count)")
            HStack {
                Button(action: { output(.decrement) }) {
                    Text("-")
                }
                Button(action: { output(.increment) }) {
                    Text("+")
                }
            }
        }
    }
}
3. Create the coupled CounterView
The CounterView is still coupled to its ViewModel, but it connects the decoupled pieces: DecoupledCounterView and CounterViewModel. You can either initialize the viewModel as StateObject or inject it externally. In this example, we initialize it within CounterView for simplicity.
struct CounterView: View {
    @StateObject var viewModel: CounterViewModel = CounterViewModel()
    var body: some View {
        DecoupledCounterView(CounterViewInput(count: viewModel.count)) { [weak viewModel] in
            switch $0 {
            case .increment: viewModel?.increment()
            case .decrement: viewModel?.decrement()
            }
        }
    }
}
Key Benefits of this Approach
- Loose Coupling: The view only knows about the input and output value types, not the concrete implementation, which makes it easy to swap out the view model if needed.
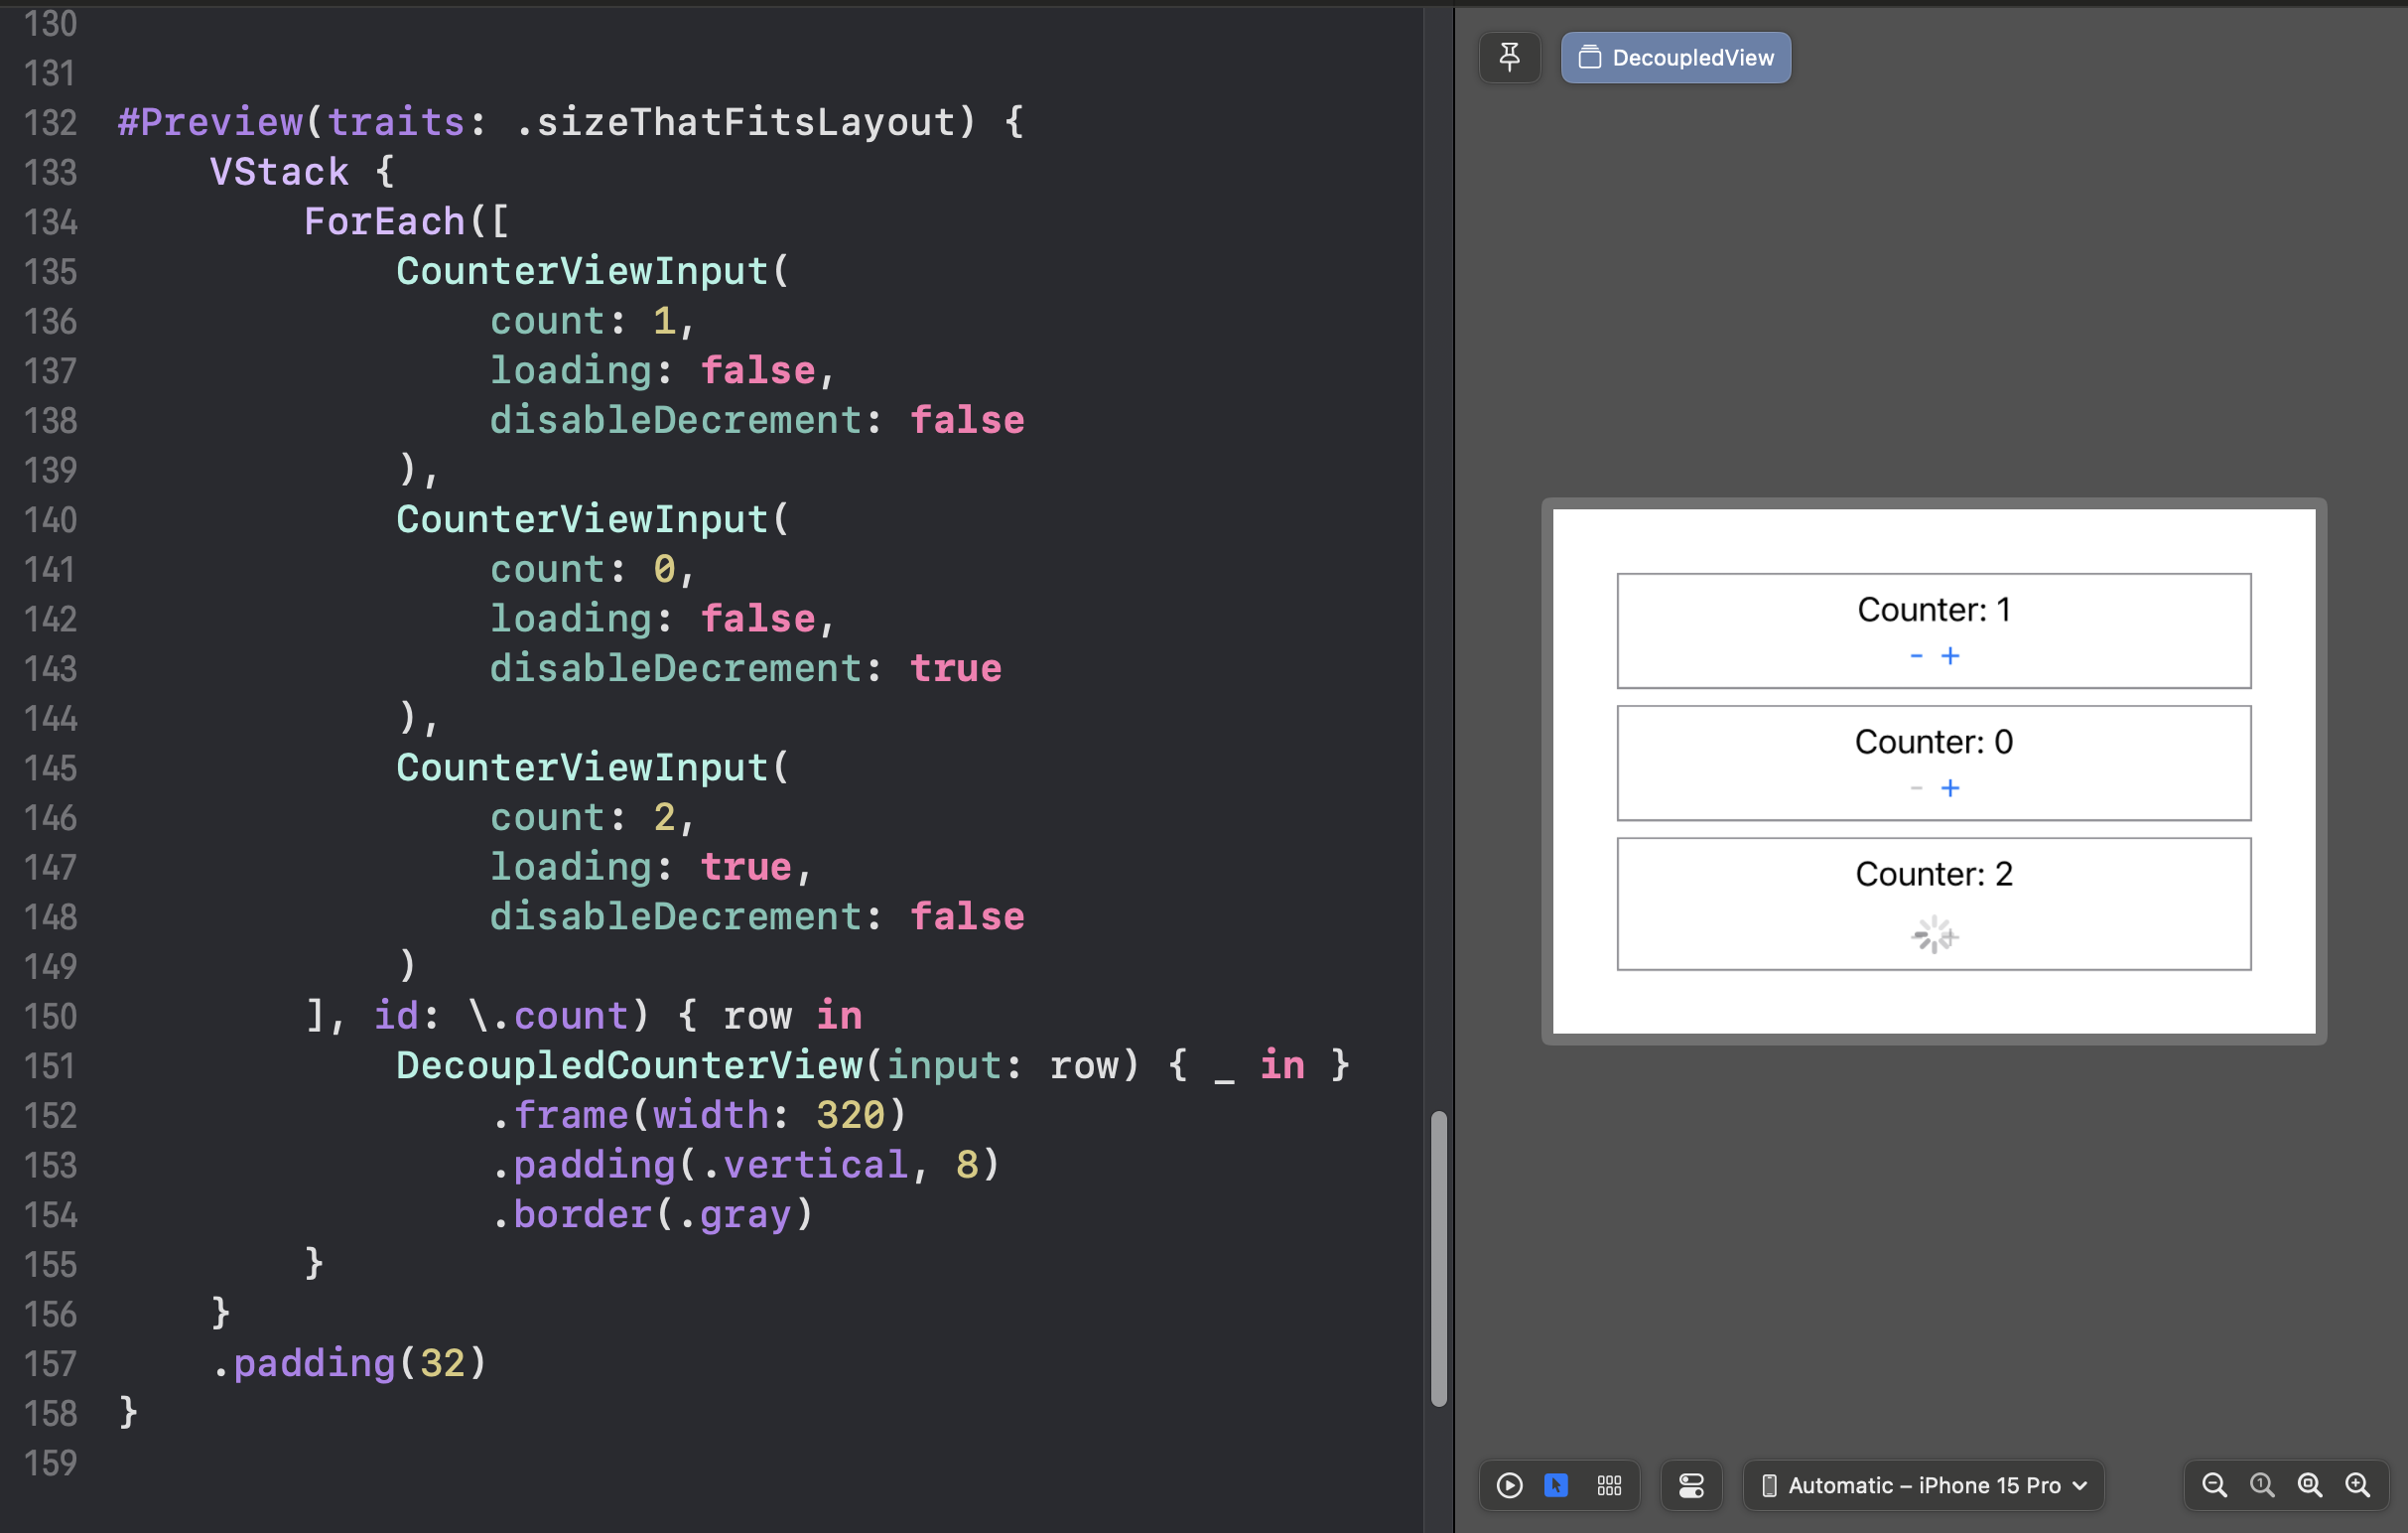
- Easier Preview: You can build many previews with different states or scenarios without needing to create dummy view models.
- Reusable Views: The view can be reused with different view models or parent views, allowing for easy adaptation to new use cases by simply mapping inputs and outputs.
Cons of Decoupling Views from ViewModels
- Increased Boilerplate: Defining separate value types for input/output protocols can make the code more verbose and lead to fragmented code base, especially in smaller projects.
- Initial Complexity: Decoupling can add an unnecessary layer of abstraction, which can make the learning curve steeper.
The balance between simplicity and structure must be carefully considered and adapted to your project’s size and expected scalability.
Conclusion
Decoupling views from view models in SwiftUI is a key practice for building scalable and maintainable apps. By relying on input and output value types, you can create UI components that are flexible, previewable, and easy to work with. Remember, the goal is to keep your views as simple as possible, letting the view model handle the heavy lifting.